.NET用マイクロORMのDapperを始めてみました。
環境
Visual Studio 2015 Update1
Dapperのインストール
NuGetからインストールします。
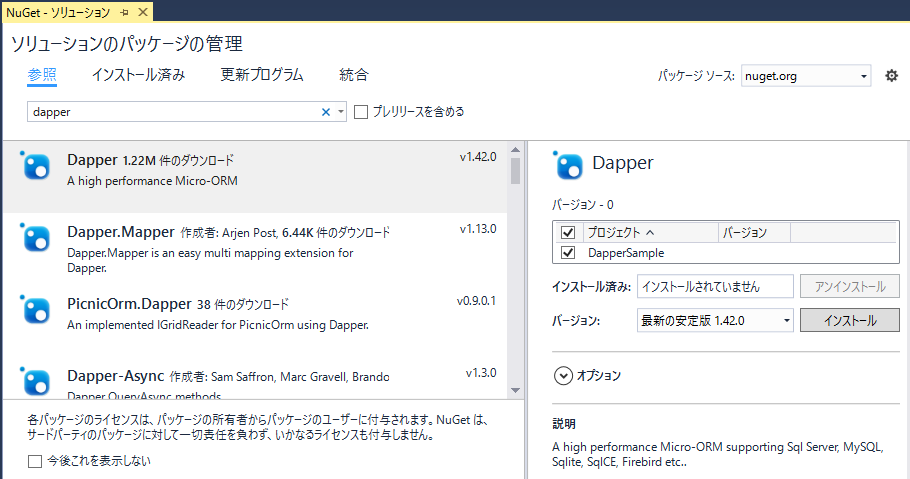
1. Visual Studioのメニュー[ツール] - [NuGetパッケージマネージャー] - [ソリューションのNuGetパッケージの管理]を実行します。
2. 左上の[参照]をクリックし、"dapper"で検索します。検索結果からDapperを選択し、インストール対象のプロジェクトをチェックします。そして[インストール]をクリックします。

3. Dapperに緑色のチェックが入ったら、インストール成功です。

ソースコード
Person.cs
取得したデータを入れるクラスを定義します。
using System.Text;

namespace DapperSample {
    class Person {
        public int ID { get; set; }

        public string Name { get; set; }

        public int Age { get; set; }

        public override string ToString() {
            StringBuilder b = new StringBuilder();
            b.AppendFormat("ID:[{0}] ", this.ID);
            b.AppendFormat("Name:[{0}] ", this.Name);
            b.AppendFormat("Age:[{0}] ", this.Age);
            return b.ToString();
        }
    }
}
Program.cs
Dapperは、IDBConnectionなどの拡張メソッドとして実装されているので、usingディレクティブでDapper名前空間をインポートすると使えるようになります。
using Dapper;
using System;
using System.Data.SqlClient;

namespace DapperSample {
    class Program {
        static void Main(string[] args) {
            using (SqlConnection connection = new SqlConnection([接続文字列])) {
                connection.Open();

                var persons = connection.Query<Person>("SELECT ID, Name, Age FROM dbo.Persons ORDER BY ID");

                foreach (Person person in persons) {
                    Console.WriteLine(person);
                }
            }

            Console.ReadKey();
        }
    }
}
動作結果

レコードが取得できました!